6/24/20 - The recent failure with the handle on the damascus sgian dubh left me frustrated. I usually have solid success with walnut, but the particular block I chose had hairline cracks all the way through that were exacerbated by the sanding process and ultimately chipped away. So for the canister damascus dagger handle, I poured over my inventory not really feeling particularly chipper about using wood, but that's all I really have, so...
I pulled a block of white oak out of the mix - nice and heavy with no cracking, when I suddenly remembered the bucket of cow bones Gid and his friend Donnie found while hiking through the woods. Initially, I thought I could at least use a segment of the bone in the handle - blend it together with wood. Maybe slip a brass spacer in between. But as I was looking through the pile, I noticed a section of rib that tapered down to a straight and thick enough portion that maybe, just maybe, I could fashion into an integral handle.
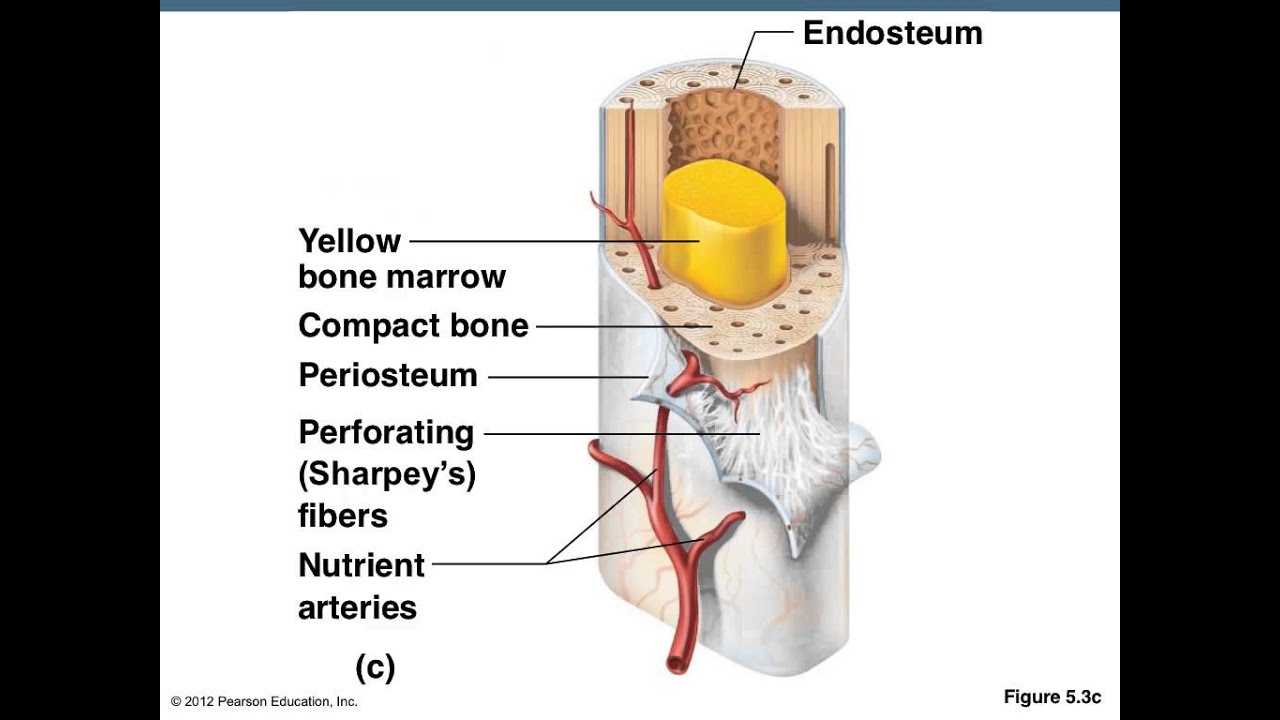
I sized up the blade handle to the bone and then began drilling out the porous material inside. I believe this is called the endosteum? The drill press got about as deep as it could go so I began holding the bone and reaming out the opening as best I could against the spinning bit.
At this point, the knife handle could only go about an inch deep. I had a good 4.5 inches to contend with, so I took the handle over to the belt grinder to take off mass from the sides as well as narrow down on the taper out to the end.
This gained me about another inch, but now the issue appeared to be related to the curve of the bone. To solve this, I put the knife in the vise horizontally and on its edge. Taking my map torch, I heated the end of the handle up to a glowing heat, keeping an eye on the steel coloration toward the blade to ensure that the blade end didn't loose tempering. I then took my needle nose pliers and began gently curving the end of the handle to match that of the interior of the bone.
While the handle was still relatively hot, I began jamming it into the bone to burn out more of the interior that I couldn't reach with a bit or file. The smell was... well - burnt hair and steak?
Now I'm at 3 inches. 1.5 inches to go. I took the blade handle back to the belt grinder with the idea that I could file the end of the handle down to a sharp scratching head. I also removed slightly more mass along the edges. Now, with the pointed end, I was able to insert the knife handle in and scratch out material around the elbow of the curve. A few minutes of this and I was able to snug the blade down to the aluminum-bronze bolster I cast.
At present, there is a bit of a hairline unevenness between the bolster and bone and I haven't quite figured out how I want to address it. The most attractive option presently would be to use a slice of leather between the bolster and bone. This would serve as both a cushion to absorb shock from a stab in addition to sealing up gaps from uneven surfaces.
The bolster, however, does still require some work to flatten. I may address this with a rasp as the belt grinder, even with the platen attachment, seems a bit to wily to control on such a small piece.
No comments:
Post a Comment